The previous method involved ironing the copper side of the board with the acetate in between the iron and the board. Pressure is applied on the iron and reasonable results can be had but it not very consistent.
This time the heat is applied to the fiberglass side of the board. This method provides much more even heating to the copper. The transfer is then placed on teh heated copper and a flat surface is smoothed over the surface during heating to put some pressure on the transfer.

Above is the basic setup. The iron is inverted and held in place by a vise. The timer is just to indicate roughly how long the board has been on. The transfer takes about 2-4 minutes depending on the size of the board.
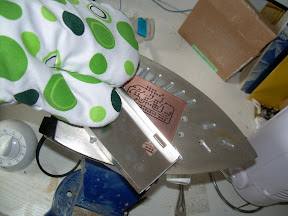
Heres the setup in action. An oven mit is used because it gets real hot on the hands other wise. The aluminum is just a random scrap piece. Anything with a flat surface will do.
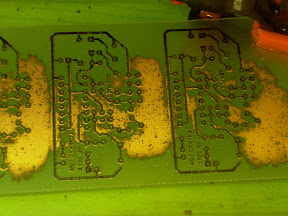
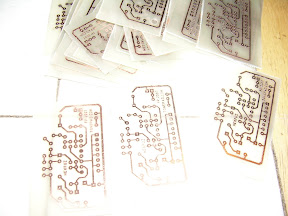
The rest of the process is trivial. I used ammonium persulphate to etch. The board is teh "Tube sound fuzz" from tonepad with a few modifications. (Mainly a millennium bypass and a switch for high/low gain.

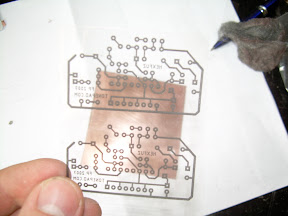
Above, a sketch of what the extra traces are for/ the modified PCB.
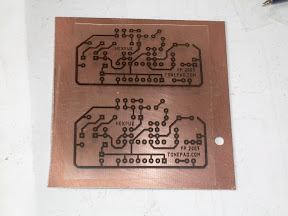
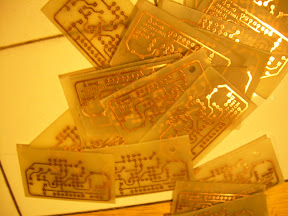
Below, some other pictures from the process.


1 comment:
Thanks for this Great tutorial.
Post a Comment